If you’re running a WordPress site and want it to reflect your unique brand or personality, you don’t need to touch a single line of code. Thanks to WordPress’s built-in tools and user-friendly themes, non-coders can make impressive customizations in minutes.
In this guide, we’ll walk you through the essential tools and techniques to customize your WordPress theme—all without writing a line of code.
Why Customize Your Theme?
Your WordPress theme defines how your website looks and feels. From fonts and colors to layout and navigation, it’s the skin of your site. While default themes look nice, they’re often generic. Customization helps:
- Stand out from the crowd
- Build brand identity
- Improve user experience
- Boost engagement and trust
Step 1: Choose a Customizable Theme
Start with a theme that’s built to be flexible—some free themes are extremely limited. Look for themes that advertise compatibility with:
- The WordPress Customizer
- Drag-and-drop builders like Elementor or Gutenberg
- WooCommerce, if you plan to sell products
Recommended beginner-friendly themes:
- Astra
- OceanWP
- Neve
- GeneratePress
These themes offer deep customization without needing any coding experience.
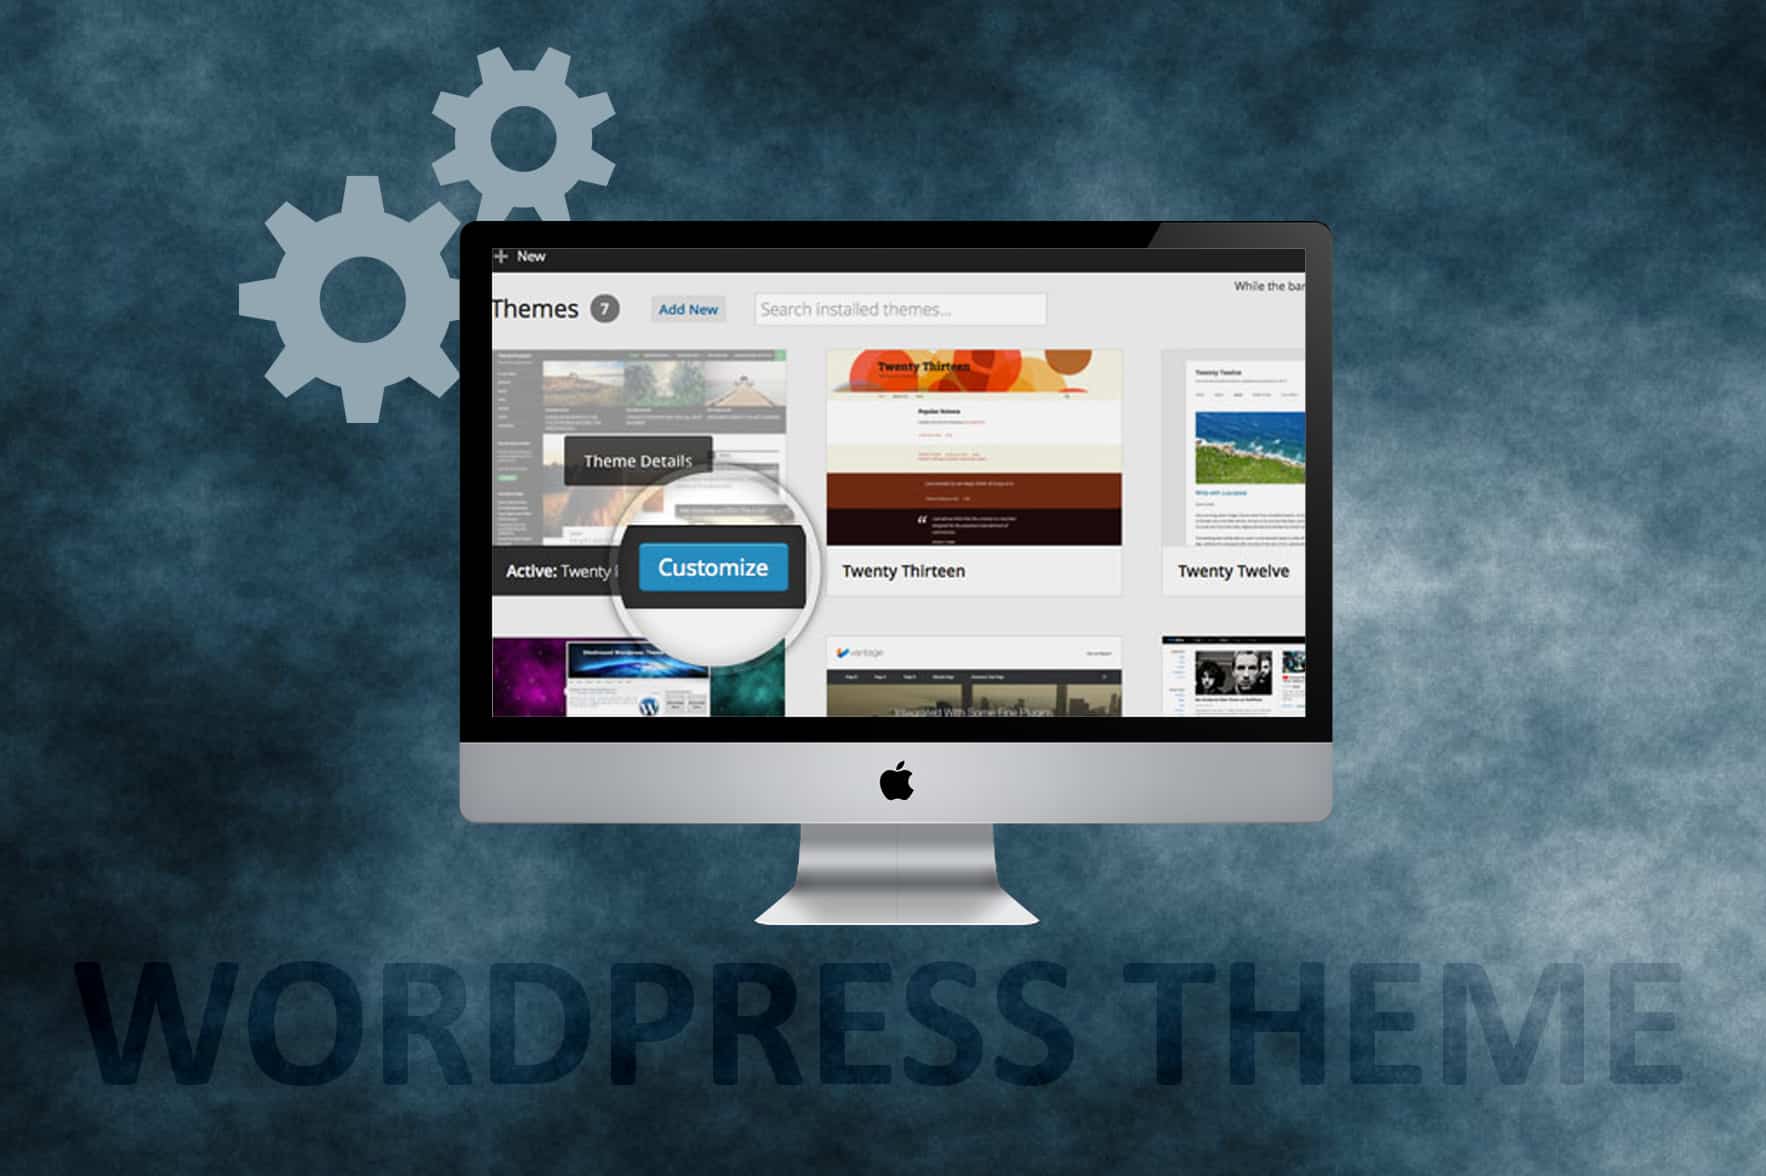
Step 2: Use the WordPress Customizer
The Customizer (found under Appearance → Customize) is your go-to tool for live preview edits.
You can change:
- Site Identity: Logo, site title, and tagline
- Colors: Backgrounds, header/footer, links, buttons
- Typography: Font styles and sizes
- Menus: Add or remove pages in your navigation
- Widgets: Add things like recent posts, search bars, social media links
- Homepage Settings: Choose a static page or recent blog posts
Tip: Always hit “Publish” after making changes to save them.
Step 3: Use Widgets to Add Functionality
Widgets are pre-made elements you can drag into sidebars, footers, or other widget-ready areas. Go to Appearance → Widgets.
Popular widget ideas:
- About Me box
- Newsletter signup form (Mailchimp or ConvertKit)
- Recent posts
- Social media links
- Calendar or upcoming events
Most themes define widget areas, so placement may vary slightly.
Step 4: Install a Page Builder Plugin (Optional)
Page builders make theme customization much easier by letting you drag and drop blocks of content. If your theme doesn’t offer built-in visual editing, consider installing:
- Elementor (free + pro version)
- Beaver Builder
- SeedProd
- Kadence Blocks (for Gutenberg lovers)
With these tools, you can:
- Build custom homepages
- Design beautiful landing pages
- Rearrange content visually without needing to touch the code
Step 5: Create and Use a Child Theme (Optional but Smart)
If you’re doing more advanced changes (like editing template files via plugins), you should create a child theme—this preserves your customizations even when your theme updates.
But if you’re sticking to visual changes through the Customizer and page builders, you likely don’t need one.
Step 6: Customize the Header and Footer
Headers and footers are important—they house your site’s logo, menu, and essential links.
Use:
- Customizer > Header/Footer settings (if theme supports it)
- Elementor Pro (includes a powerful header/footer builder)
- Dedicated plugins like “Header Footer Code Manager”
You can:
- Add call-to-action buttons (like “Get a Quote” or “Subscribe”)
- Insert your logo
- Add a sticky menu or transparent header
Step 7: Make It Mobile-Friendly
More than half of users browse on mobile devices. Most good themes are responsive by default, but always check.
How:
- Preview your site in mobile mode via the Customizer
- Use Google’s Mobile-Friendly Test tool
- Make sure buttons and text aren’t too small or close together
Step 8: Test and Tweak Consistently
Once you’ve customized your theme, continue refining your site:
- Ask a friend to navigate it
- Use free tools like Hotjar to see where users click
- Regularly update your theme and plugins for security and compatibility
Bonus: Don’t Forget Branding
Even without code, you can build strong branding by:
- Using a consistent color palette (try Coolors.co)
- Uploading a custom favicon under Site Identity
- Choosing fonts that reflect your style (Google Fonts integrations are common)
- Maintaining voice and tone consistency in your content
Final Thoughts
You don’t need to be a developer to make your WordPress site look polished and professional. By using the Customizer, widgets, and drag-and-drop tools, you can take full creative control. Focus on user experience, consistent branding, and clean design—and your site will stand out, code-free.